
Tail & Brake Lights
Showing 61–72 of 129 resultsSorted by popularity
-
Tail & Brake Lights
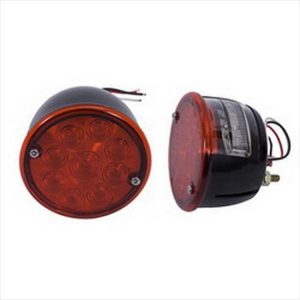
Rugged Ridge LED Tail Light Assembly – 12403.84
- Rugged Ridge LED tail light assembly 12403.84, sold as a pair
- Covers Jeep CJ3, CJ5 and CJ6 models from 1959 to 1960 and 1966 to 1975
- Also lists Willys CJ-2, CJ-3, CJ-5 and CJ-6 models from 1946 to 1958
- DOT and SAE approved, with an impact resistant acrylic lens
SKU: RUG12403.84 -
Tail & Brake Lights
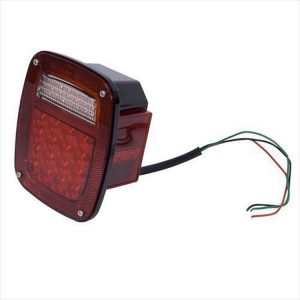
Rugged Ridge LED Tail Light Assembly – 12403.83
- Driver side (Position Left) LED tail light assembly
- Fits 1997–2006 Jeep Wrangler (TJ) and 2004–2006 Jeep Wrangler (LJ) per the manufacturer fitment list
- DOT and SAE approved, impact resistant acrylic lens
- Part number 12403.83, UPC 804314173494
SKU: RUG12403.83 -
Tail & Brake Lights
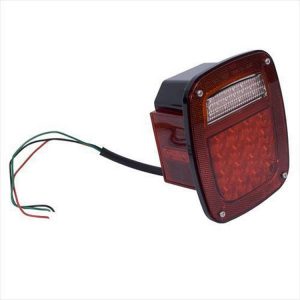
Rugged Ridge LED Tail Light Assembly – 12403.82
- Passenger side (Position Right) LED tail light assembly
- Fits 1997–2006 Jeep Wrangler (TJ) and 2004–2006 Jeep Wrangler (LJ) per the manufacturer fitment list
- DOT and SAE approved, impact resistant acrylic lens
- Part number 12403.82, UPC 804314173487
SKU: RUG12403.82 -
Tail & Brake Lights
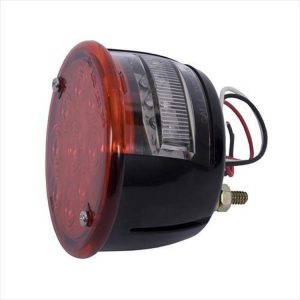
Rugged Ridge LED Tail Light Assembly – 12403.81
- Driver side (Position Left) LED tail light assembly
- Fits Jeep CJ3, CJ5 and CJ6 and Willys CJ-2, CJ-3, CJ-5 and CJ-6 per the manufacturer fitment list
- DOT and SAE approved, impact resistant acrylic lens
- Part number 12403.81, UPC 804314173470
SKU: RUG12403.81 -
-
-
-
-
Tail & Brake Lights
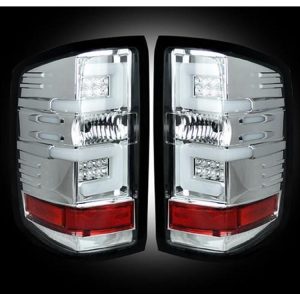
Recon LED Tail Light Assembly (Clear) – 264297CL
- Fits 2016–2017 Chevrolet Silverado 1500, 2500 HD and 3500 HD pickups
- Clear lens LED tail light assembly, part number 264297CL
- Replaces factory OEM LED tail lights
- Sold as a pair; LED reverse light bulbs are not included
SKU: REC264297CL -
-
-


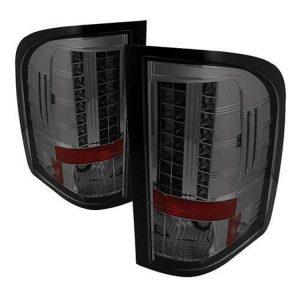
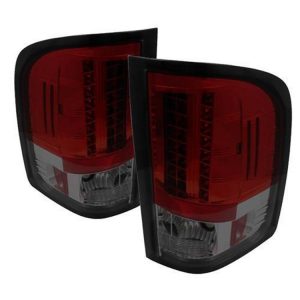
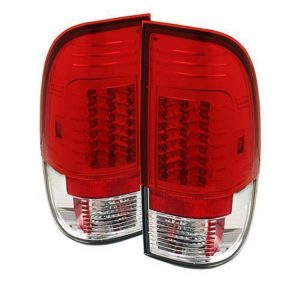

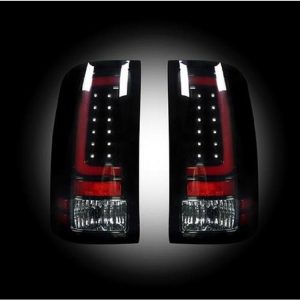
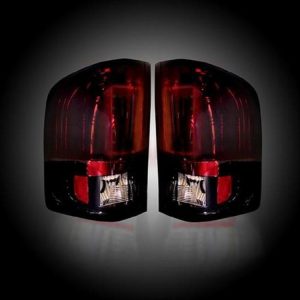
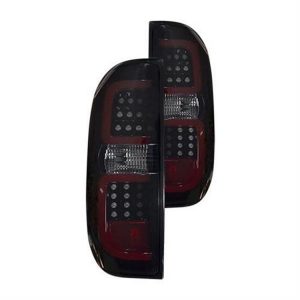
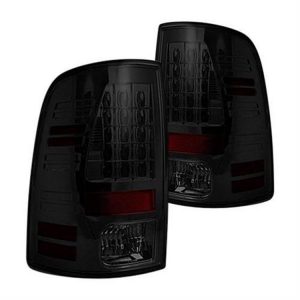
Replacement or upgrade
People shop for tail lights for two main reasons. One is repair: cracked lenses, moisture inside the housing, or burned-out circuits after years of vibration and trail abuse. The other is appearance and visibility, usually a switch to LED lamps with clear, smoked, or red lenses. Both paths need a light that meets the vehicle's lighting requirements, because brake lights, turn signals, and reverse lamps are safety equipment.
Types of tail light assemblies
- OEM-style replacement: halogen assemblies that match the factory look and plug into the original connector. These are often sold per side.
- LED replacement: sets with many LEDs for faster response and long life. Some include sequential or tinted lenses.
- Housings and lenses: a housing may come with or without a license lamp and wiring pigtail.
- Harnesses and adapters: wiring that connects aftermarket lights or relocates them, such as for bumper swaps.
What to check before choosing
Match the model year range first, since small design changes between years can alter the connector and shape. Note whether the listing is for the driver side, passenger side, or a pair. Look for details like clear lens with black bezel, smoked lens, or black housing, and whether the lamp includes the license plate light. For LED conversions on a vehicle with a computer-monitored lighting circuit, check whether the product notes mention anti-flicker or hyper-flash handling. Some vehicles flash rapidly when a low-draw LED replaces a bulb, and a load resistor or flasher may be needed.
Installation notes
Most assemblies bolt in from inside the cargo area or the bumper and take only basic tools. Disconnect the battery before working on wiring, and inspect the connector for corrosion. Apply a thin layer of dielectric grease to the plug. After installation, test the running lights, brake lights, turn signals, and reverse lights with a helper. Make sure every lamp works before driving.
Lighting equipment standards vary, and lens color and brightness are regulated. Check your state's rules, and look for DOT or SAE markings on the lens where required. Always confirm fitment for your exact year, make, and model with the manufacturer's specifications.
Inspecting and avoiding mistakes
Before ordering, compare the connector shape and pin count of your old lamp with the replacement, since two lamps from different years can look the same and still plug in differently. Check that the housing seals around the lens, because moisture is the most common reason for early failure. Confirm that the replacement has all the functions your vehicle needs, such as a separate reverse lamp, a side marker, or a license plate light. Wiring harnesses should be checked for brittle insulation and melted terminals, which often explain repeated bulb failures. After installing, check alignment of the lens against the body panel for a tight, even gap, and inspect it after a car wash for fogging.
Keep a spare bulb set, a few fuses, and a small tube of dielectric grease in the vehicle. Tail lamp failures are easy to fix on the roadside when you carry these, and a working brake light protects the traffic behind you.
Popular Tail & Brake Lights brands
- Spyder Auto Group (38)
- Crown Automotive (18)
- Omix-Ada (17)
- Recon (13)
- Poison Spyder Customs (9)
- JW Speaker (8)
- Putco (6)
- Rugged Ridge (6)
- Anzo (4)
- In Pro Carwear (4)
- Rigid Industries (3)
- Warrior (2)
Tail & Brake Lights FAQ
Are tail lights sold in pairs?
It varies. Some listings are for a single driver or passenger side, and others include both. Read the title and description closely to see how many pieces you get before choosing.
Why do my turn signals flash fast after installing LED tail lights?
LEDs draw less current than the bulbs they replace, so the vehicle may read a burned-out bulb and speed up the flash. A load resistor or an electronic flasher can fix it, unless the lights are built to avoid the issue.
Do aftermarket tail lights need to be street legal?
Tail lights have federal and state standards for color and visibility. Look for DOT or SAE markings and check local regulations, because smoked lenses and some LED styles can be restricted in certain areas.
Can I replace just the tail light lens?
Sometimes, but many modern assemblies are sealed, and the lens is not sold separately. Cracks can let moisture in and cause failures. Replacing the full assembly is often simpler and keeps the seal intact.