
Overview
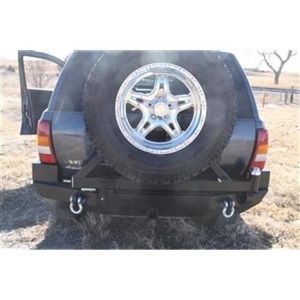
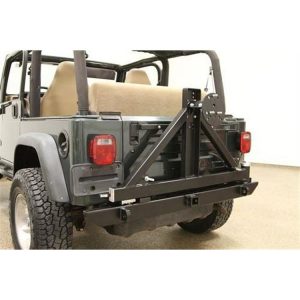
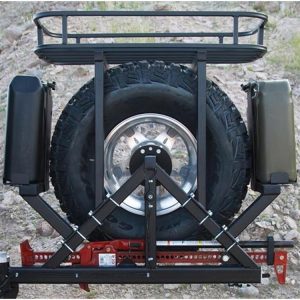
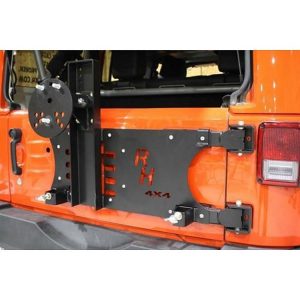
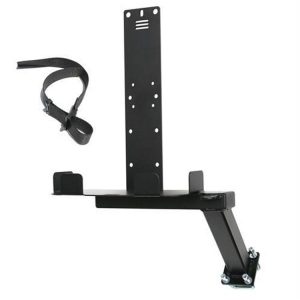
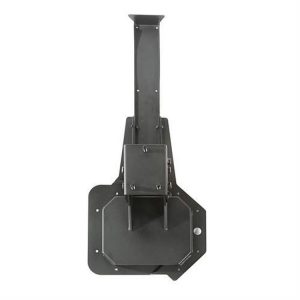
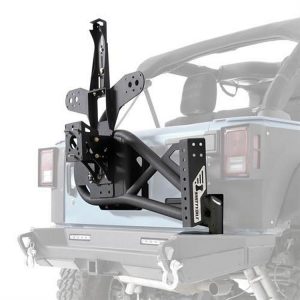
The Rock Hard 4×4 Parts RH-2002-TL is a rear bumper and tire carrier with a 3rd brake light, mounted to the body and bumper. It is labeled universal fit, but its mounting depends on the center wheel hole size, so the tire’s hole must be checked before buying.
The center wheel hole must be 2.5 or larger.
Matching the carrier to your tire
A bumper-mounted carrier carries the spare on the rear of the vehicle, so the weight rests on the bumper and body rather than a hitch receiver. That makes the mount points and the center wheel hole the two things to check first. A tire with a center hole that is too small will not seat on the carrier, and a mismatch can leave the spare hanging unevenly.
Think about the spare’s weight and size before mounting. A heavier tire puts more load on the bumper and fasteners, so inspect those bolts after the first few trips and after any rough stretch of trail. Wiring for the 3rd brake light should be routed away from moving parts and checked for chafing.
Related parts often get replaced at the same time. Worn rubber bushings, tired tire straps and corroded bolts all affect how steady the carrier feels on the road. Clean and lightly grease the hardware each time the spare comes off, so it goes back on more easily next time.
Specifications
| Brand | Rock Hard 4×4 Parts |
|---|---|
| Part number | RH-2002-TL (description also lists RFPRH-2002-TL) |
| UPC | 70000430467 |
| Mounting | Body and bumper mounted |
| Center wheel hole | 2.5 or larger |
| Fit label | Universal Fit (per description) |
Vehicle fitment
This carrier is not a single universal fit. It depends on a center wheel hole of 2.5 or larger and body and bumper mounting, so match those to your tire and vehicle first.
Confirm your vehicle’s year, model and trim before ordering.
Installation notes
This is a body and bumper mount, so check the center wheel hole size of your tire before mounting. Plan the hardware and mounting steps before you start the install.
What’s included
Check the package contents for the light, wiring and mounting hardware before starting the install.