
Overview
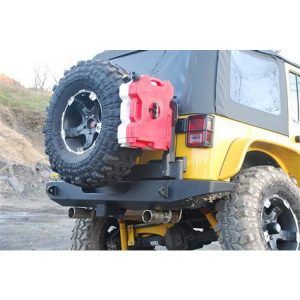
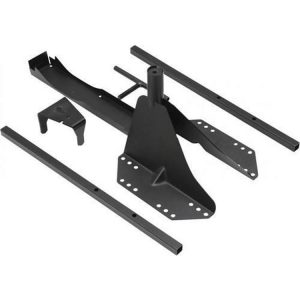
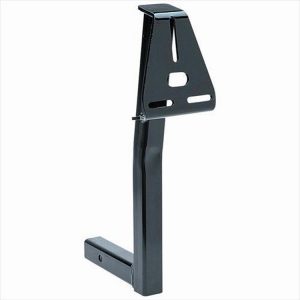
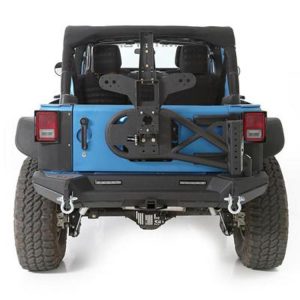
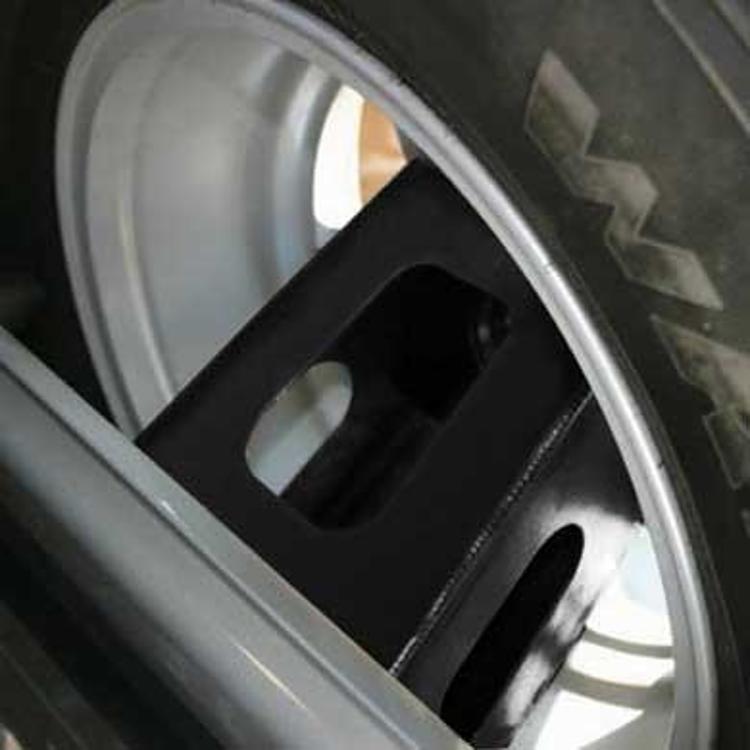
The Rampage Rear Tire Mount Kit, part number 86610, is a black powder coated rear tire carrier for 2 and 4-door models, with a body mount location and direct fit. It adjusts 3 inches up and 3 inches out.
Confirm the vehicle this kit fits before ordering, since no make, model or years are given. Check the mounting points against your vehicle’s year, model and trim.
Tire carrier use and upkeep
A body mount tire carrier holds the spare tire on the rear of the vehicle, so its load goes directly into the body structure. Because the carrier swings and latches, it needs regular checks for play in the hinge, wear at the latch and any movement at the mounting points. Carry only the tire and gear the carrier is built for, and keep the load centered.
Adjustment makes it easier to clear the body, bumper and exhaust, but moving the carrier changes its load on the mount, so re-check clearance and bolt torque after any change. Look for rust at the mounting points, cracks around the welds or hinge, and loose or stripped bolts. Replace worn bushings or hardware before they fail on the trail.
- Check the latch after every trip
- Re-torque bolts after the first drive
- Keep the tire clear of the exhaust
Specifications
| Brand | Rampage |
|---|---|
| Part number | 86610 |
| UPC | 873563004767 |
| Product type | Rear tire mount kit |
| Location | Body mount |
| Finish | Black powder coated |
| Adjustment | 3″ up and 3″ out |
| Body styles | 2 and 4-door models |
| Fit type | Direct fit |
Vehicle fitment
It is a direct fit for 2 and 4-door body styles. Confirm your vehicle’s year, model and trim before ordering.
Confirm your vehicle’s year, model and trim before ordering, then check that the mount location matches your vehicle’s body mounts.
Installation notes
A tire carrier is heavy, so brace the vehicle and have a second person steady the carrier as you start the bolts.
- Tighten the hardware to the specified torque, following the included directions.
- Test the swing and latch for clearance against the body, bumper, exhaust and lights.
- Check the bolts again after the first drive and again after trail use.
- If any step looks like drilling or cutting beyond your skills, hand the job to a pro.