
Side Window Vent Visors
Showing 85–96 of 125 resultsSorted by popularity
-
Side Window Vent Visors
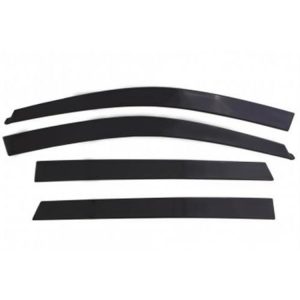
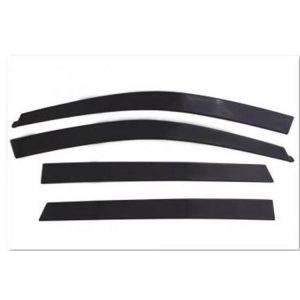
Auto Ventshade Ventvisor Low Profile Deflector 4 pc. (Smoke) – 894044
- Auto Ventshade 894044 Ventvisor low profile deflector, 4 pc. set in smoke
- Listed fitment: 2015–2019 Ford F-150; 2017–2018 Ford F-250 and F-350 Super Duty
- Pre-applied 3M adhesive mounting tape, no drilling
- Made in the USA; part number 894044
SKU: AVS894044 -
-
Side Window Vent Visors
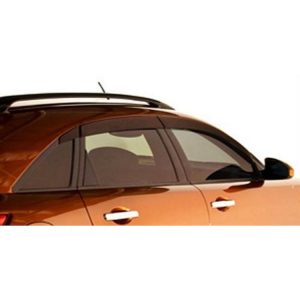
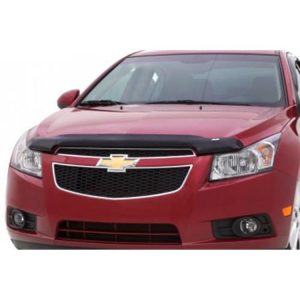
Auto Ventshade Low Profile Ventvisor – 892015
- Auto Ventshade 892015 Low Profile Ventvisor, smoke tinted acrylic, 2 piece set
- Made for extended and standard cab models
- Reduces interior wind noise and mirror fogging
- No drilling; pre-applied 3M automotive-grade adhesive
SKU: AVS892015 -
-
Side Window Vent Visors
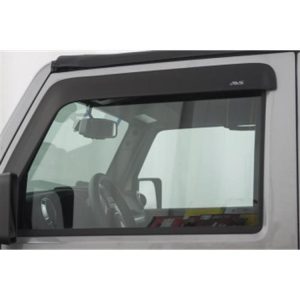
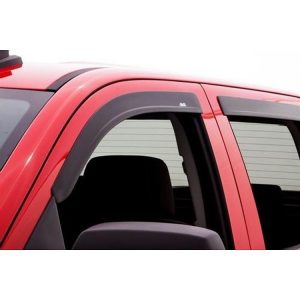
Auto Ventshade Low-Profile Ventvisor (Smoke) – 774034
- Auto Ventshade 774034 Low-Profile Ventvisor, smoke acrylic side window deflector
- Designed for 4-door models; fit is set by body style
- Applied with pre-applied 3M tape, no drilling
- Circulates air; made in the U.S.A.
SKU: AVS774034 -
-
Side Window Vent Visors
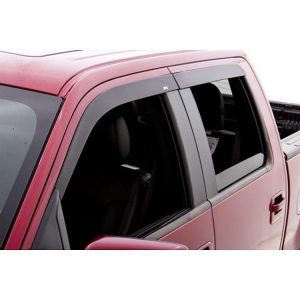
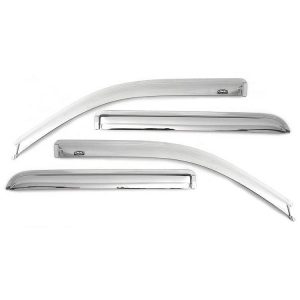
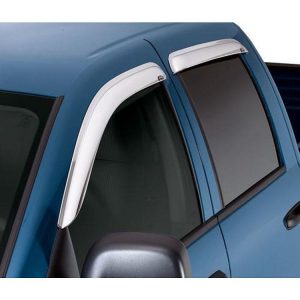
Auto Ventshade Chrome Ventvisor (Chrome) – 684040
- Chrome plated ABS ventvisor, part number 684040
- Sold as a 4 pc. set
- Lets a window stay partly open to reduce heat while parked
- Mounts with automotive grade tape, no drilling
- Make, model and years not listed; Extended Cab named in copy
SKU: AVS684040 -
Side Window Vent Visors
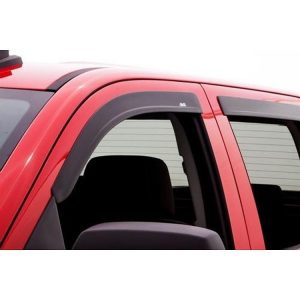
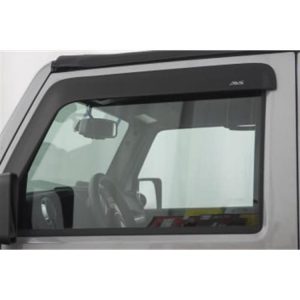
Auto Ventshade Black Ventshade (Black) – 32558
- Black front side window vent visor, part number 32558
- Sold as a 2 pc. set
- Deflector lets the window stay partly open while keeping rain out
- Direct Fit; confirm make, model and years before installing
- Limited Lifetime Warranty
SKU: AVS32558

What vent visors do
A vent visor is a narrow acrylic or similar shield that fits above a side window. It lets fresh air in during rain or snow, reduces wind noise and buffeting with the window partly open, and cuts some glare and sun on the glass. Most sets cover the front and rear doors, and the listings here are mostly four-piece sets, with a few front-only and Jeep-specific kits.
In-channel versus tape-on
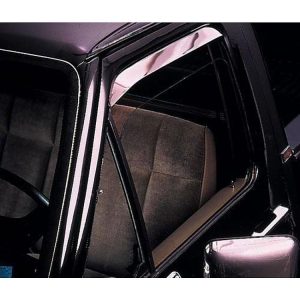
- In-channel: the visor slides into the window channel and is held by tension. It has a clean, integrated look and no adhesive on the paint, but it can interfere with window travel or seals on some vehicles, and may rattle if poorly seated.
- Tape-on or exterior mount: the visor attaches with automotive-grade adhesive tape to the door frame. It is simple to install, but proper surface prep is important.
Low-profile versions have a slimmer look that sits closer to the door, while standard designs extend farther and give more rain coverage.
Choosing a finish and set
Smoke is the most common finish, with some black, textured black, carbon-fiber look and chrome options. Match the finish to your trim and window tint. Check the piece count: four-piece sets cover all doors on a four-door model, whereas two-door vehicles need fewer pieces. Some Wrangler sets are designed for the factory doors specifically, so confirm that detail.
Installation tips
Install in mild temperature, 60 degrees Fahrenheit or warmer, so the adhesive bonds correctly. Clean the mounting area with the supplied wipes or isopropyl alcohol, test-fit before peeling the tape, and press firmly along the full length. Avoid washing the vehicle or rolling windows for the period the instructions state, usually 24 hours. For in-channel types, follow the manufacturer's sequence for flexing and seating the visor, and do not force it.
Some drivers wonder how visors affect visibility and everyday use. Smoke finishes tint the area above the glass slightly, which most people find comfortable, and the narrow profile should not block your view of side mirrors or traffic lights. Low-profile styles hug the door and minimize wind noise at highway speed, while wider shields give more rain coverage when parked. If you use a roof rack, awning or door-mounted accessory, check that nothing contacts the visor.
Care is simple. Wash visors with the vehicle using mild soap and a soft cloth, and avoid abrasive brushes or harsh solvents that can haze acrylic. Automatic car washes with strong brushes can catch the edges of tape-on visors, so check for lifting after a wash. If an adhesive visor does lift, remove it, clean off old adhesive residue with a product made for automotive finishes and refit with fresh tape from the manufacturer. In-channel units that become loose over time can often be reseated, and a gentle wipe of the channel helps remove grit that causes rattles.
Fitment
Visors are made for specific year, make, model and cab or door configurations. Confirm your exact application and review the manufacturer's specifications before choosing a product below.
Popular Side Window Vent Visors brands
Side Window Vent Visors FAQ
What is the difference between in-channel and tape-on vent visors?
In-channel visors slide into the window channel and hold by tension, so there is no adhesive on the door frame. Tape-on visors stick to the exterior frame with automotive tape. In-channel looks cleaner, while tape-on is often easier to fit.
Do window vent visors cause wind noise?
They usually reduce wind noise and buffeting when a window is cracked open, though results vary by vehicle and speed. A poorly seated in-channel visor can rattle or whistle, so make sure it is fully seated and the window closes normally.
Can I wash my vehicle after installing vent visors?
Wait until the adhesive has cured, typically around 24 hours, though the exact time is in the manufacturer's instructions. In-channel visors do not rely on adhesive, but you should still follow the maker's guidance after fitting.
Will vent visors fit my Jeep or truck?
Visors are made for specific vehicles and door styles, so check the year, make, model and number of doors against the product listing. Confirm details such as factory versus aftermarket doors in the manufacturer's specifications.